How to Translate Japanese Manga Images to English
Translate a Japanese manga page to English from a PNG, JPG, or WebP image—without retyping every speech bubble. Follow the upload, review, and download workflow.
 AI Manga Translator Team
If your search is “how do I translate a Japanese manga image to English without typing every speech bubble?”, the short answer is: upload the complete page, select English as the target language, run the translation, compare the returned image with the original, and download it only after checking names, small text, and reading order.
The single-page AI manga translator is designed for exactly this job. It starts with the image you already have instead of asking you to run OCR, copy Japanese characters into a text translator, erase the original lettering, and rebuild each bubble by hand.
Quick requirements: use a PNG, JPG, JPEG, or WebP image no larger than 15 MB. Keep every speech bubble and caption visible. You can preview a file before signing in; an account is required when you start the translation.
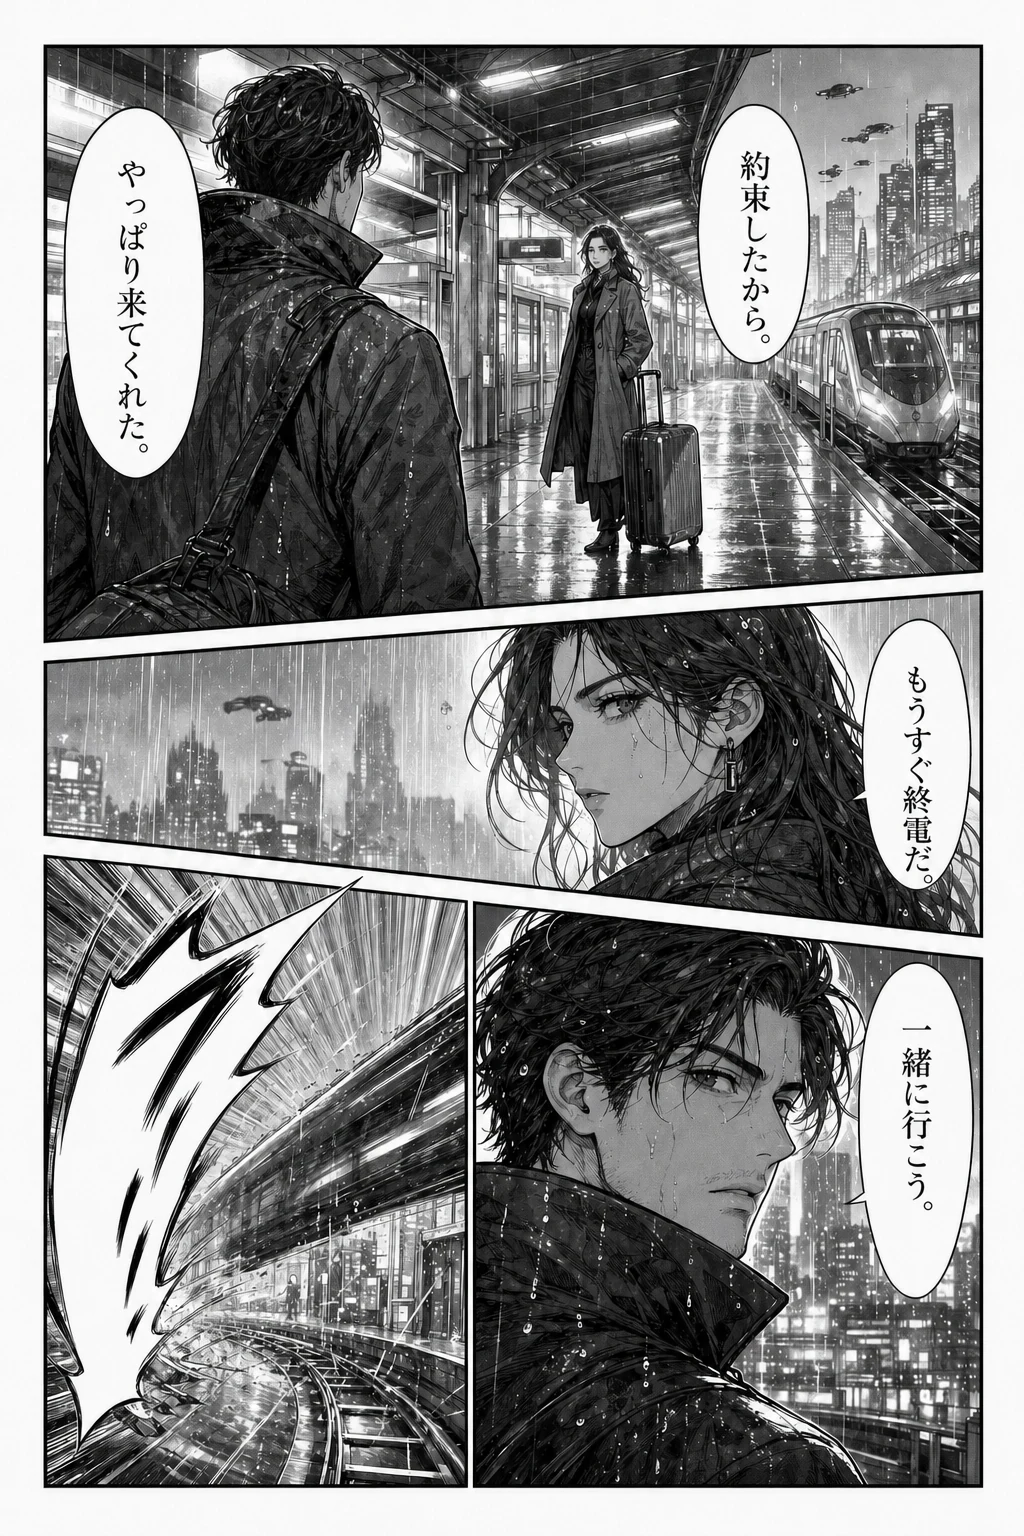
Source page · Japanese dialogue
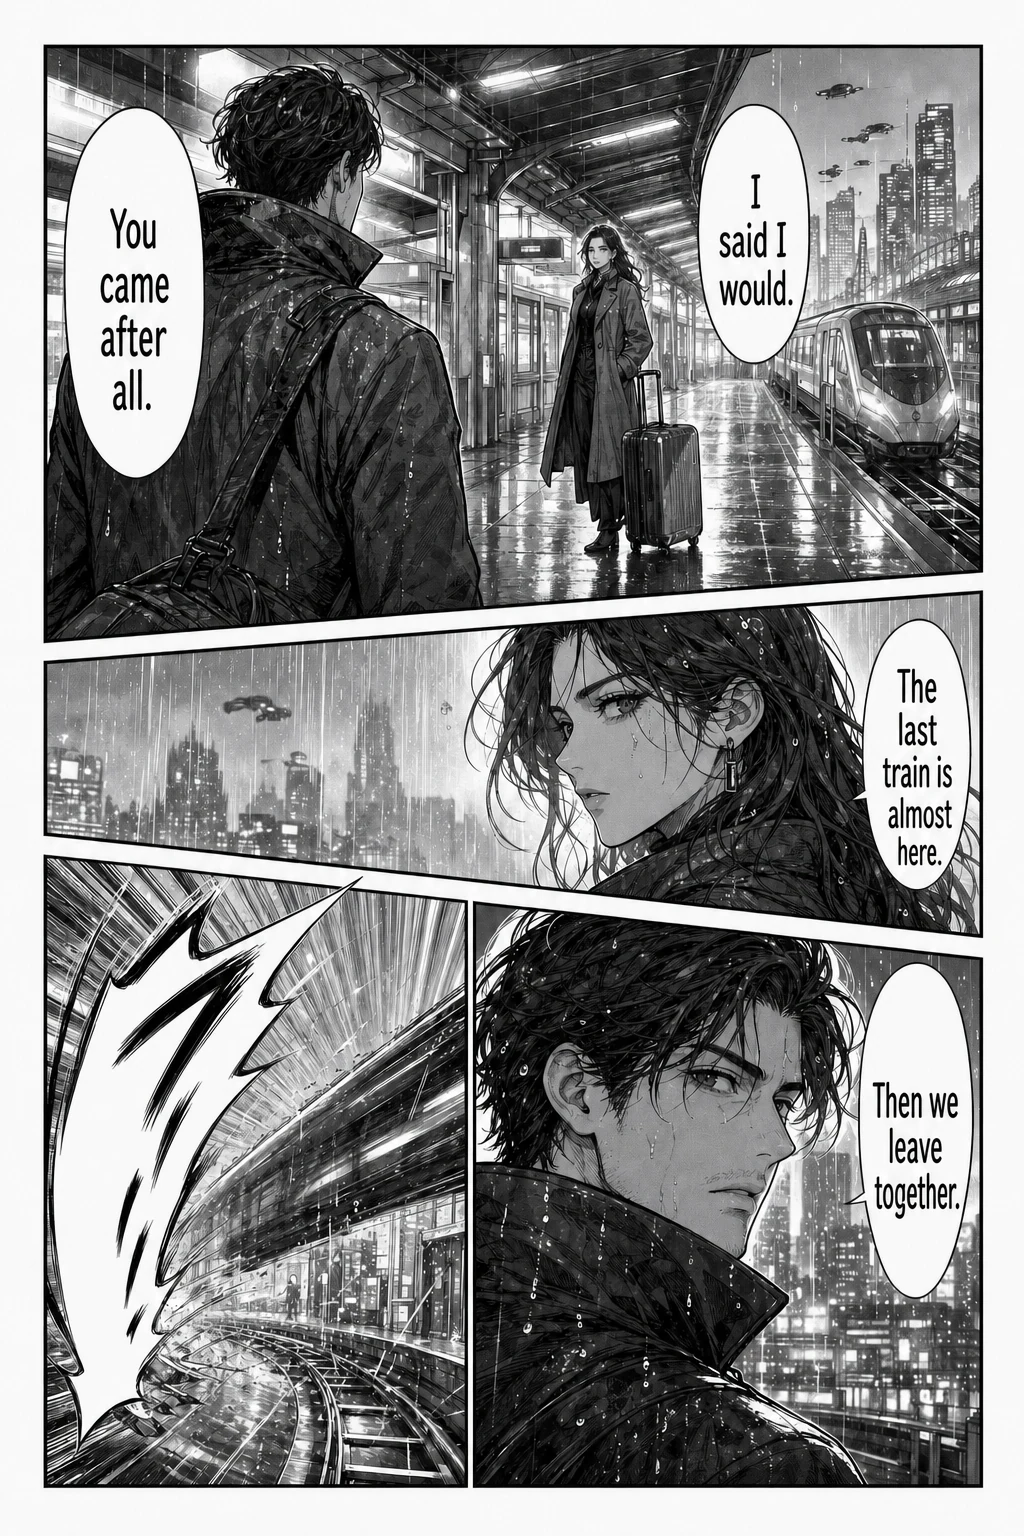
Reading copy · English dialogue
Why a normal text translator makes manga hard to read
A text translator works well after you already have clean text. A manga page gives you something more complicated: vertical Japanese, several speech bubbles, narration boxes, small side comments, sound effects, panel order, and speakers who may leave the subject of a sentence unstated.
Copying one bubble at a time creates three extra problems:
- You lose position. A translated sentence in another tab no longer shows which character said it or which panel comes next.
- OCR errors become invisible. A fluent English sentence can begin with Japanese text that was recognized incorrectly.
- You become the typesetter. Even after translating, you still need to remove the source text, fit the English into the bubble, and save a new image.
An AI manga image translator combines those handoffs into one workflow: recognize the visible text, translate it, clean the original lettering area, and place readable text back into the page. That saves time, but it does not make every line automatically correct. The final review still belongs to you.
Before uploading a Japanese manga page
1. Use a page you are allowed to process
Only upload manga pages you own or have permission to translate. A translated image does not grant permission to republish someone else’s work. For unreleased, private, or client material, read the privacy policy before sending the image to an online service.
2. Choose the clearest available image
Clean digital pages usually work better than photos of a book. If you are using a scan or camera photo, check for:
- glare across speech bubbles;
- a page curve hiding text near the binding;
- compression that turns small kana into blocks;
- cropped narration at the page edge;
- screenshots scaled down by a messaging app.
Making a blurry image physically larger does not restore missing detail. If the smallest dialogue is unreadable when you zoom in, find a clearer source before translating.
3. Keep the whole panel context
Do not crop every bubble just because a generic OCR app expects a small selection. A complete page helps you follow bubble order, expressions, panel transitions, and speaker direction. Crop only when you intentionally want to inspect one difficult region or when a very long webtoon image needs to be split into readable sections.
Step by step: translate a manga page from Japanese to English
Step 1: open the single-page translator
Go to AI manga translate. The page contains the uploader, target-language selector, typography controls, original preview, and translated preview in one workspace.
If you want to test the workflow first, choose the sample page. The sample button loads a source image; it does not skip the real translation request or show a prewritten answer.
Step 2: add the original manga image
Drag the file into the uploader or choose it from your device. Supported inputs are PNG, JPG, JPEG, and WebP, with a 15 MB limit for one page. The original preview appears locally so you can catch the wrong file before starting.
PDF, CBR, and CBZ files are containers rather than individual page images. Extract the page you need and save it in a supported image format. The tool also does not fetch a chapter from a manga URL.
Step 3: choose English as the target language
The selector asks for the language you want to read, so choose English. You do not have to type the Japanese source text into a separate field.
If needed, set a lettering font, alignment, minimum font size, or the option that focuses on speech bubbles. These settings shape the returned reading copy; they do not remove the need to check a cramped balloon or unusual sound effect afterward.
Step 4: start the translation and keep the page open
Sign in, confirm the image and target language, then start the translation. The page shows a processing state until it receives a result or an error. Refreshing the browser does not speed up recognition and may clear the current local selection, so leave the tab open while it runs.
The current credit model charges one credit per page. If a task fails, its credit is returned. See pricing for current credit-pack details rather than assuming the tool is unlimited.
Step 5: compare the Japanese page and English result
Read the important conversation once in normal panel order. Then zoom in and check the parts most likely to fail:
- names, honorifics, and repeated terms;
- vertical or very small Japanese text;
- a sentence whose subject is implied by the previous panel;
- jokes, sarcasm, and emotional tone;
- sound effects drawn into the artwork;
- long English lines near the edge of a narrow bubble;
- captions over patterned or dark backgrounds.
A grammatical English line can still belong to the wrong speaker or miss what a short reply means in context. When something sounds out of character, compare the bubble position, facial expression, and previous line before accepting it.
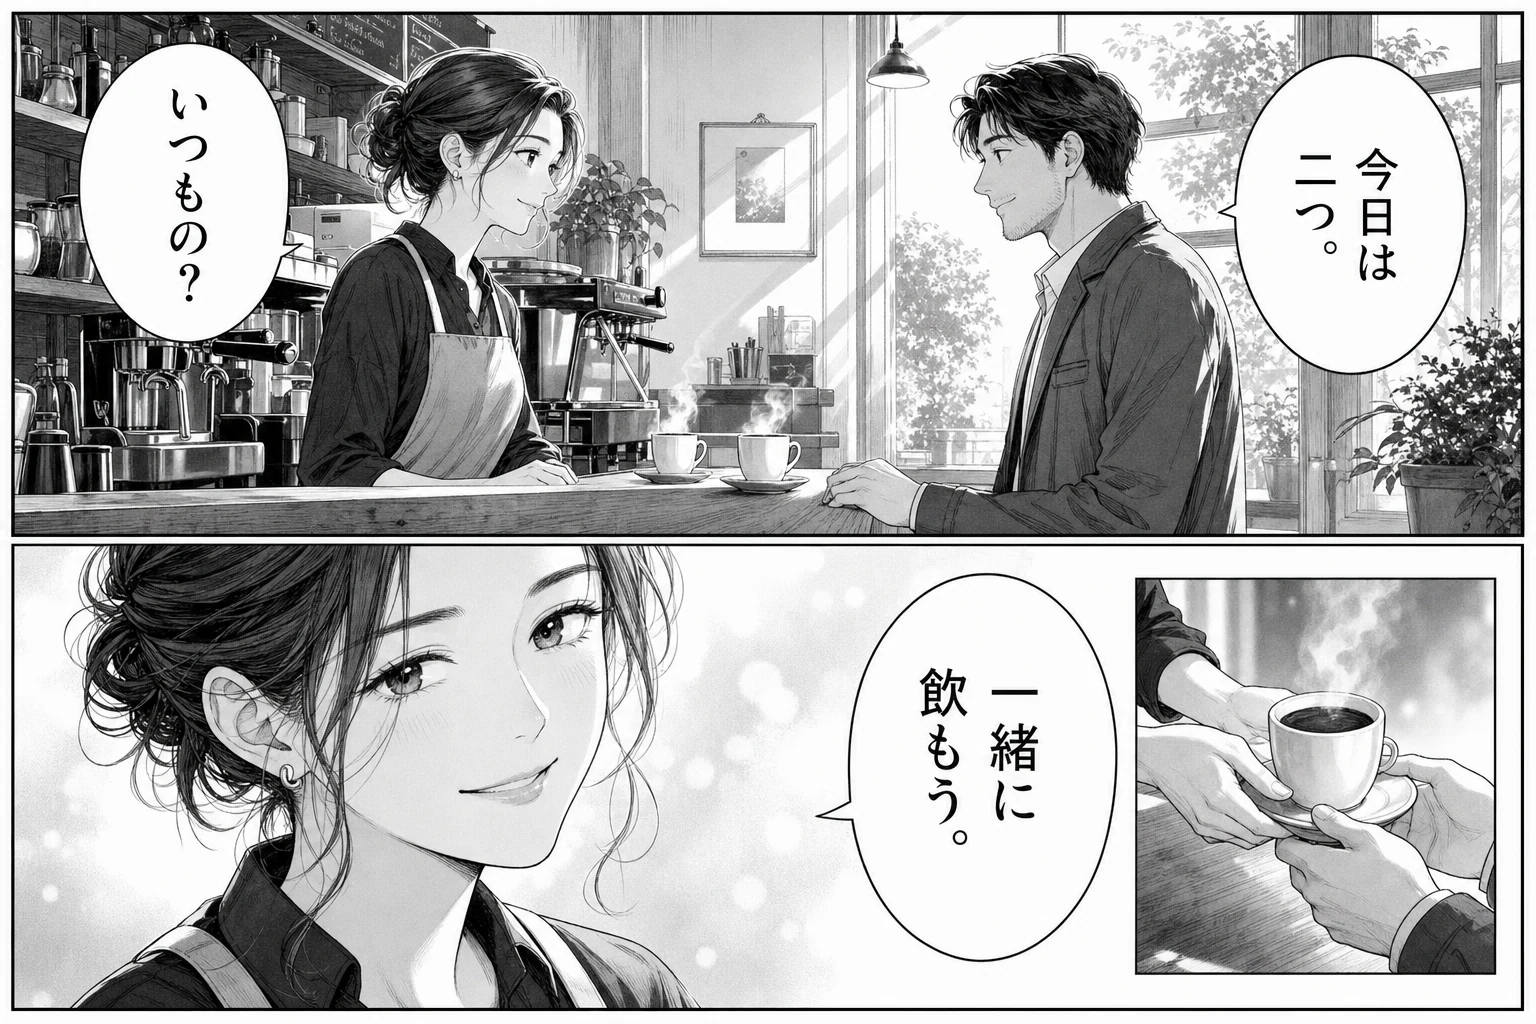
Check the full scene and bubble order
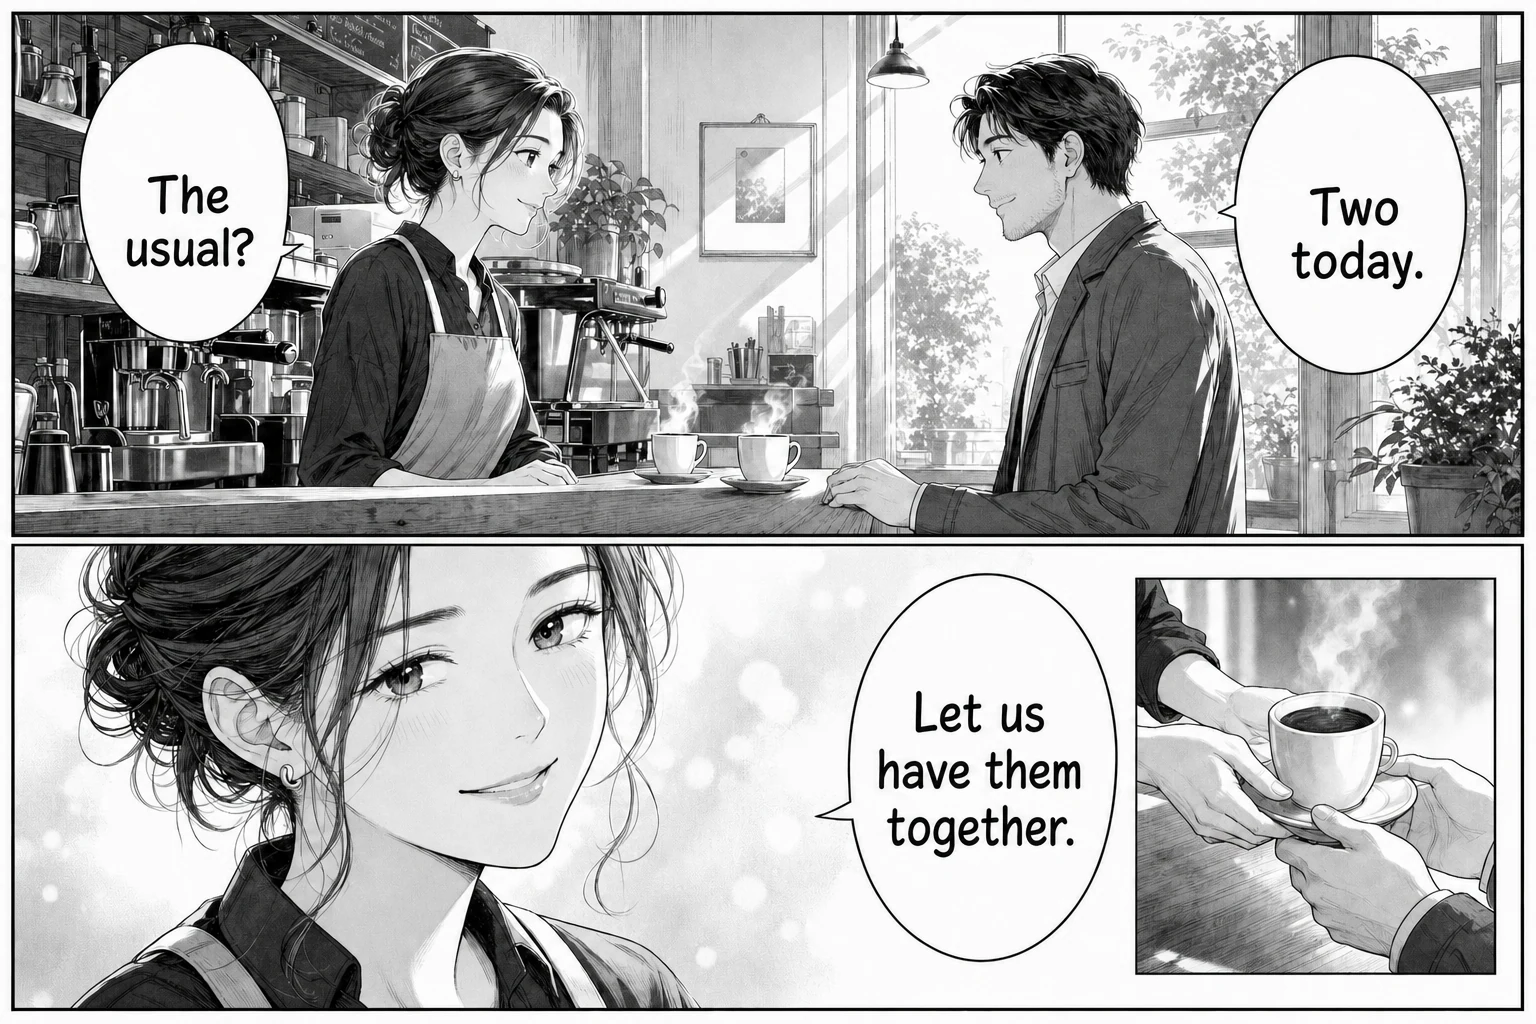
Then review line fit and reading flow
Step 6: download the checked image
When the translated preview is ready, choose Download image, open the saved file, and confirm that it contains the result rather than the source. Keep the original beside it for later comparison.
The source and result are also stored in your account’s translation history. Starting another page clears the current workspace, not the history. Changing the target-language selector after a page has finished does not rewrite that result; submit the source again if you need another language.
How to improve a weak manga translation result
The text is missing or nonsensical
Check the source at 100% zoom. If the characters are blurred, clipped, or covered by glare, upload a clearer complete page. For a very tall manhwa or webtoon screenshot, split it into sections that keep the text large enough to read.
English text does not fit the speech bubble
Japanese can express an idea in less horizontal space than English. Review the minimum font size and alignment settings, then decide whether the result is readable. The current preview is not a text editor, so a publication-quality correction still requires your own image-editing or lettering tool.
A name changes between pages
Write down recurring names, places, attacks, and honorific choices. The single-page workflow does not provide a shared editable glossary. For several pages, compare repeated terms across the chapter rather than judging each image in isolation.
Sound effects are left alone or mistranslated
Stylized sound effects may overlap art, use distorted lettering, or act as part of the drawing. Treat them as a harder case than clean dialogue. Decide whether understanding the conversation is enough for your reading goal; a polished release may need manual redraw and lettering.
When should you switch to batch manga translation?
Use the single-page tool when you are stuck on one scene, testing image quality, or deciding whether the output language works for you. Once you have several consecutive page images ready, use the batch manga translator instead.
Batch mode accepts up to 20 images, applies one target language to the queue, processes pages in order, and lets you inspect or download finished pages while later entries continue. It changes the file-management workflow, not the need to review every important line.
Frequently asked questions
Can AI translate Japanese text directly from a manga image?
Yes. Upload a complete PNG, JPG, JPEG, or WebP manga page and choose English as the target language. The workflow handles text recognition, translation, source-text cleanup, and re-typesetting, then returns a translated image for you to review.
Do I need to crop and translate every speech bubble separately?
No. Keep the complete page in the image. A full page preserves panel order, speaker cues, captions, and nearby artwork that can help you judge the translation. Crop only when the original page is so large or blurry that its smallest text is unreadable.
Can it translate vertical Japanese manga text?
You can submit pages that contain vertical Japanese dialogue. Vertical text, stylized sound effects, tiny side notes, and lettering over detailed art are harder cases, so compare those areas carefully with the original before downloading.
Which image formats and file sizes are supported?
The current uploader accepts PNG, JPG, JPEG, and WebP images up to 15 MB per page. PDF, CBR, CBZ, and direct manga-site links are not accepted; extract or export the page as a supported image first.
Can I translate a manga image for free without signing up?
You can load the sample and inspect a local image preview before signing in, but an account is required to start a translation. Check the pricing page for current credit packs instead of assuming that image translation is free or unlimited.
Can I edit one incorrect line inside the translated preview?
Not in the current preview. The result is a downloadable image rather than an editable transcript or lettering project. If a name, line, or sound effect needs correction, use an image editor after checking the source.
Start with one representative page
Choose a dialogue-heavy page rather than a cover or an action page made mostly of sound effects. If the smallest bubble is clear, the panel order is intact, and the English reading copy makes sense beside the artwork, you have a useful baseline for the rest of the chapter.